Latest 9 videos posted below. You can click on load more to see additional videos. Please consider clicking subscribe and like.
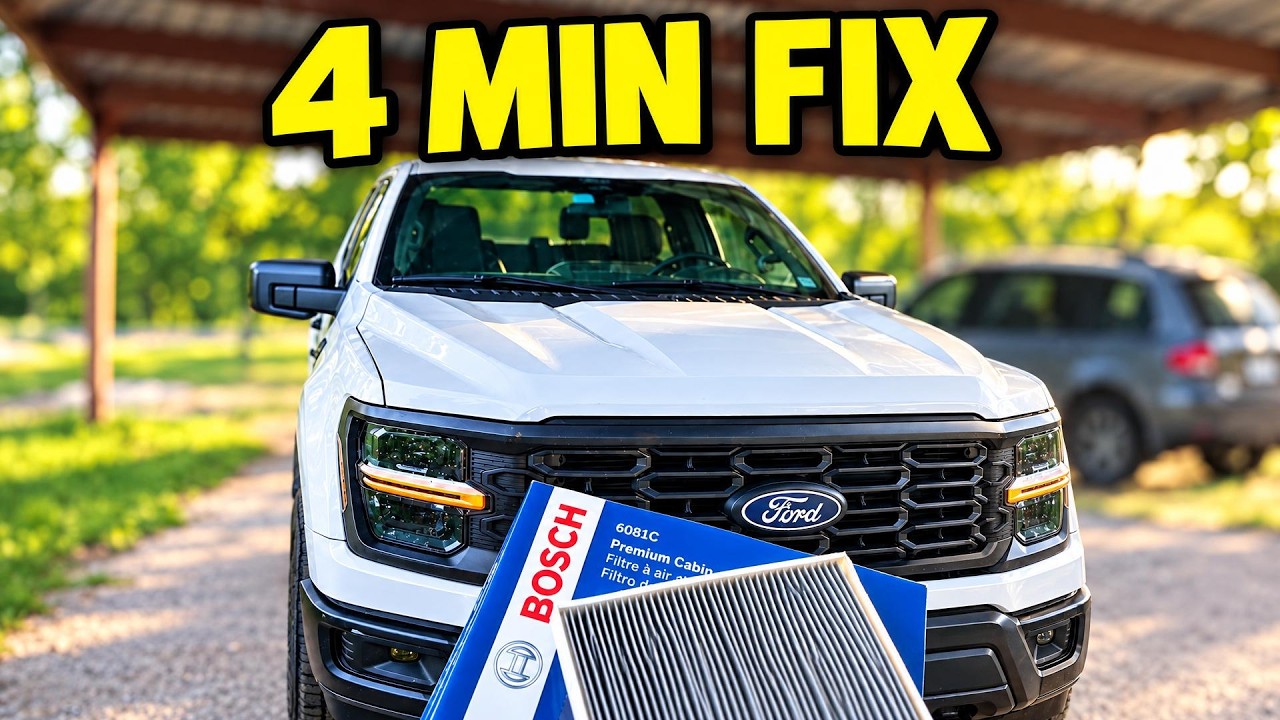
How to Replace Cabin Air Filter | 2021-2027 Ford F-150 DIY in 4 Minutes
How to replace the cabin air filter on a 2024 Ford F-150 in under 4 minutes. Same for all Gen 14 F150's, 2021-2027 model years.
Easy DIY maintenance anyone can ...do with no tools - realtime, no filler, no AI slop.
In this video I show the exact glovebox location, how to drop it down, which way the airflow arrow goes, and the 30-second swap to restore clean airflow and A/C performance.
Same process for all gen 14 F-150s - 2021-2027
No tools needed.Save money vs the dealer and do it yourself at home in your driveway. Filmed on my 2024 F-150 - fits most 14th-gen trucks.
00:00 Intro
00:38 Remove glovebox
1:00 Cabin filter location
1:41 Out with the old in with the new
2:30 Replace filter cover
2:48 Replace glovebox
#ford #f150 #diy
👉 Subscribe: https://www.youtube.com/@completetuningsolutions?sub_confirmation=1 👈
******************************
As an Amazon Associate I earn from qualifying purchases.
The information provided on this channel is for entertainment purposes only. Any action you as the viewer takes upon the information on this channel is strictly at your own risk, and Complete Tuning Solutions will not be liable for any losses, damages, or personal injuries in connection with the use of this content (including injuries, damages, or losses sustained while you were trying to emulate the actions and projects on this channel). Attempting to emulate any of the actions or projects put forth by this channel should not be done without training and even then, at your own risk.Show More
Now Playing
How to Replace Cabin Air Filter | 2021-2027 Ford F-150 DIY in 4 Minutes
How to replace the cabin air filter on a 2024 Ford F-150 in under 4 ...
How to replace the cabin air filter on a 2024 Ford F-150 in under 4 minutes. Same for all Gen 14 F150's, 2021-2027 model years.
Easy DIY maintenance anyone can ...do with no tools - realtime, no filler, no AI slop.
In this video I show the exact glovebox location, how to drop it down, which way the airflow arrow goes, and the 30-second swap to restore clean airflow and A/C performance.
Same process for all gen 14 F-150s - 2021-2027
No tools needed.Save money vs the dealer and do it yourself at home in your driveway. Filmed on my 2024 F-150 - fits most 14th-gen trucks.
00:00 Intro
00:38 Remove glovebox
1:00 Cabin filter location
1:41 Out with the old in with the new
2:30 Replace filter cover
2:48 Replace glovebox
#ford #f150 #diy
👉 Subscribe: https://www.youtube.com/@completetuningsolutions?sub_confirmation=1 👈
******************************
As an Amazon Associate I earn from qualifying purchases.
The information provided on this channel is for entertainment purposes only. Any action you as the viewer takes upon the information on this channel is strictly at your own risk, and Complete Tuning Solutions will not be liable for any losses, damages, or personal injuries in connection with the use of this content (including injuries, damages, or losses sustained while you were trying to emulate the actions and projects on this channel). Attempting to emulate any of the actions or projects put forth by this channel should not be done without training and even then, at your own risk.Show More
Now Playing
Is your Zeta Chassis Loose? Best bang for the buck mods: Subframe Bushing and Toe Rods
2015 Chevy Caprice PPV rear suspension upgrade - BMR toe rods TR003 + Whiteline subframe bushings filler W93166 install to tighten the rear end and fix sloppy handling. This ...works for any ZETA platform and transforms the handling and traction of those rides (also recommend Rear trailering arms, I run BMR TCA026 with BK006 bushings).
This 4-minute install shows the full rear toe rod and subframe bushing swap on my 2015 Caprice ppv - perfect handling mod for your daily, drag, or track build.
If your car feels loose in the rear, wanders under power, or has soft factory rubber bushings, this combo is one of the best bang-for-buck fixes. I walk through removal of the stock toe rods, install of the adjustable BMR toe rods, and install of the inserts to take up some of the gap found in the soft stock subframe bushings with Whiteline inserts/bushings. You will want an alignment after these modifications!
This fits 2011-2017 Caprice PPV and Holden Commodore VE/VF chassis - same platform as the Chevy SS or G8; depending the year of your chassis. Great companion to other handling mods.
Cradle bolts: My application I went 110 ft lbs with blue locktite
Inner bolt on Toe rod - 85 ft lbs
Outer bolt Toe rod - 95 ft lbs.
CHAPTERS:
0:00 Intro
0:31 Mark your alignment settings - Remove Toe Rod bolts
1:22 Remove front subframe bolts - 21mm head
1:40 Install driver side rod - Gas tank bolt clearance
2:08 Install front subframe bushings, upper and lower
2:50 Universal bushing kit, some modifications required
3:10 Repeat for back bushings
3:28 Closing - Excited to try it out at the track
#CapricePPV #Caprice #suspensionupgrade
👉 Subscribe: https://www.youtube.com/@completetuningsolutions?sub_confirmation=1 👈
******************************
As an Amazon Associate I earn from qualifying purchases.
The information provided on this channel is for entertainment purposes only. Any action you as the viewer takes upon the information on this channel is strictly at your own risk, and Complete Tuning Solutions will not be liable for any losses, damages, or personal injuries in connection with the use of this content (including injuries, damages, or losses sustained while you were trying to emulate the actions and projects on this channel). Attempting to emulate any of the actions or projects put forth by this channel should not be done without training and even then, at your own risk.Show More
Now Playing
Twin Turbo LS 1st Gen Camaro; Holley EFI #shorts
Last night I was tuning the cold start, hot start, and idle on this ...
Last night I was tuning the cold start, hot start, and idle on this 1st Gen Camaro sleeper running a twin turbo 62mm LS swap and Holley EFI. It runs ...on straight pump gas and hooks hard down the track, all ready running a mid 9 second pass at low boost with some methanol injection. We are shooting for 8's on pump gas + methanol injection later this year. Previously tuned somewhere else, having to babysit the idle when it warms up is not acceptable; that was fixed today as well as some not shown driveability and fueling corrections.
This thing is a sleeper! 8.5 cage with swingouts, vintage air AC, full weight, built 370 with a 4l80e. Cruises and goes when you want it to!
Full build breakdowns and DIY automotive tutorials are coming to the channel.
🛠️ SSubscribe: https://www.youtube.com/@completetuningsolutions?sub_confirmation=1
🛠️
for more LS build tips, diagnostics, and high-performance tuning guides!
#lsswap #turbocharger #holleyefi #camaro #sleepercar #carsofyoutube
******************************
As an Amazon Associate I earn from qualifying purchases.
The information provided on this channel is for entertainment purposes only. Any action you as the viewer takes upon the information on this channel is strictly at your own risk, and Complete Tuning Solutions will not be liable for any losses, damages, or personal injuries in connection with the use of this content (including injuries, damages, or losses sustained while you were trying to emulate the actions and projects on this channel). Attempting to emulate any of the actions or projects put forth by this channel should not be done without training and even then, at your own risk.Show More
Now Playing
The secret to perfect secondary pump timing 🔑 #boost #tuning #turbo
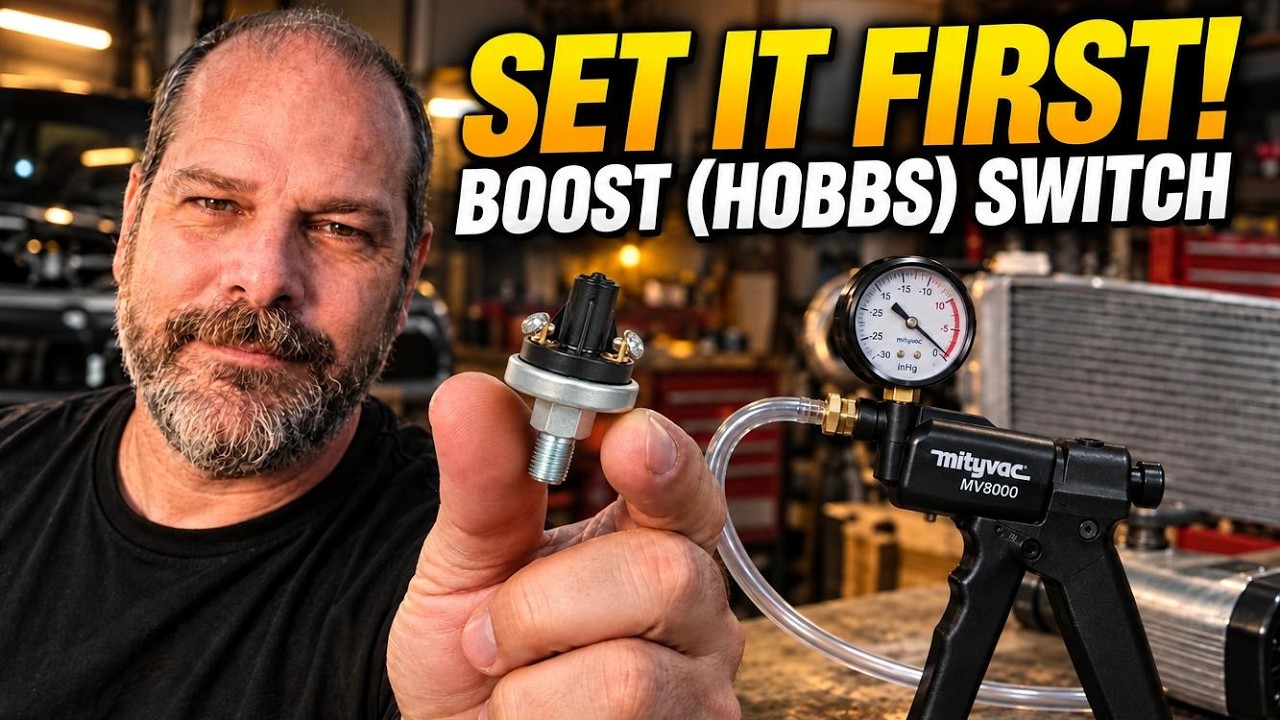
Set your Boost Pressure (Hobbs) Switch FIRST before you install it; ...
Set your Boost Pressure (Hobbs) Switch FIRST before you install it; with a $30 vacuum pump and Amazon sourced parts. My Switch closes at 6 PSI on my ...twin turbo caprice ppv so my JMS Boost a pump triggers to add full voltage to the system in higher boost mode, same time the methanol injection turns on.
Full 4-min bench test + fuel hack is live on my channel — comment TUNE if you want the tune breakdown next!
👉 Subscribe: https://www.youtube.com/@completetuningsolutions?sub_confirmation=1 👈
******************************
As an Amazon Associate I earn from qualifying purchases.
The information provided on this channel is for entertainment purposes only. Any action you as the viewer takes upon the information on this channel is strictly at your own risk, and Complete Tuning Solutions will not be liable for any losses, damages, or personal injuries in connection with the use of this content (including injuries, damages, or losses sustained while you were trying to emulate the actions and projects on this channel). Attempting to emulate any of the actions or projects put forth by this channel should not be done without training and even then, at your own risk.Show More
Now Playing
Don't Install Your Pressure (Hobbs) Switch Until You Do This!
Don't install that boost (Hobbs) switch until you bench test it! ...
Don't install that boost (Hobbs) switch until you bench test it! Here's how to set a Hobbs switch / boost activated fuel pump switch with a simple hand vacuum pump ...BEFORE you put it on the car. Great for activating a boost a pump, methanol injection, second fuel pump, and essentially triggering anything off boost pressure! I'm using mine to trigger a JMS Voltage booster to my fuel pump and module in my 2015 Caprice PPV drag and drive car.
Bench testing saves you from a lean condition, missed secondary fuel pump activation, or guessing at your boost pressure setpoint in the engine bay.
In this under 4 minute video I show you how I set the activation point on my Hobbs pressure switch for my turbo build using a vacuum / pressure pump with a gauge, so it kicks on exactly when you need that secondary fuel pump, voltage booster, or other boost activated device to turn on exactly when you need it to!
CHAPTERS:
0:00 Intro
0:20 Vacuum block and hobbs switch install
0:58 Hooking up the multimeter and vacuum for testing
1:51 Verified functionality and trigger, 6psi
2:30 How I'm using the Boost (Hobbs) switch
👉 Subscribe: https://www.youtube.com/@completetuningsolutions?sub_confirmation=1 👈
******************************
As an Amazon Associate I earn from qualifying purchases.
The information provided on this channel is for entertainment purposes only. Any action you as the viewer takes upon the information on this channel is strictly at your own risk, and Complete Tuning Solutions will not be liable for any losses, damages, or personal injuries in connection with the use of this content (including injuries, damages, or losses sustained while you were trying to emulate the actions and projects on this channel). Attempting to emulate any of the actions or projects put forth by this channel should not be done without training and even then, at your own risk.Show More
Now Playing
Did it survive the first start? Twin Turbo Caprice #turbo #mechanic #firststart
The Twin Turbo Caprice PPV is finally ready for its first start! Well ...
The Twin Turbo Caprice PPV is finally ready for its first start!
Well it's finally together and ready to check for leaks, on my Birthday no less, after countless hours in ...the garage putting this together.
So here is the first start up from this morning. Time to button up some items and finish the exhaust, maybe tuning on the road within a week? Got to subscribe to find out!
👉 Subscribe: https://www.youtube.com/@completetuningsolutions?sub_confirmation=1 👈
******************************
As an Amazon Associate I earn from qualifying purchases.
The information provided on this channel is for entertainment purposes only. Any action you as the viewer takes upon the information on this channel is strictly at your own risk, and Complete Tuning Solutions will not be liable for any losses, damages, or personal injuries in connection with the use of this content (including injuries, damages, or losses sustained while you were trying to emulate the actions and projects on this channel). Attempting to emulate any of the actions or projects put forth by this channel should not be done without training and even then, at your own risk.Show More
Now Playing
POV: Building a twin turbo caprice ppv in the garage #mechanic #diy
Highlight reel from the Live session, testing exhaust for leaks. ...
Highlight reel from the Live session, testing exhaust for leaks. Excited that I finally fixed a leak I couldn't weld shut (I'm a #rookie) with some high heat JB ...Weld paste!
👉 Subscribe: https://www.youtube.com/@completetuningsolutions?sub_confirmation=1 👈
******************************
As an Amazon Associate I earn from qualifying purchases.
The information provided on this channel is for entertainment purposes only. Any action you as the viewer takes upon the information on this channel is strictly at your own risk, and Complete Tuning Solutions will not be liable for any losses, damages, or personal injuries in connection with the use of this content (including injuries, damages, or losses sustained while you were trying to emulate the actions and projects on this channel). Attempting to emulate any of the actions or projects put forth by this channel should not be done without training and even then, at your own risk.Show More
Now Playing
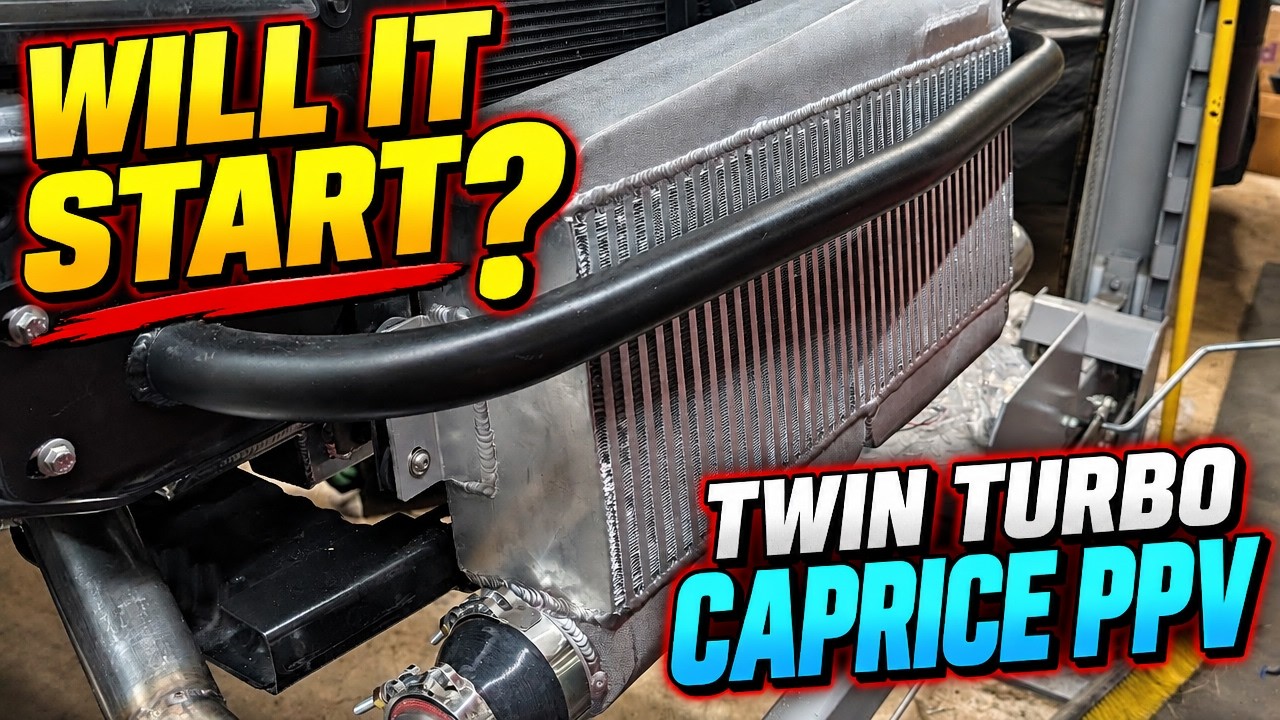
Can We Get the Twin Turbo Caprice Running This Weekend?
Saturday am garage wrenching session. Live session for conversation ...
Saturday am garage wrenching session. Live session for conversation and discussion.
Getting close to hearing this car run and that's the goal this weekend.
Objectives today:
test pass side downpipe & install ...- DONE but not happy with fitment. Will see.
To to this weekend before startup:
finish driver side downpipe
finish coolant lines
add fluid
swap map sensor
bead roll piping
wiring
start car?
👉 Subscribe: https://www.youtube.com/@completetuningsolutions?sub_confirmation=1 👈
******************************
As an Amazon Associate I earn from qualifying purchases.
The information provided on this channel is for entertainment purposes only. Any action you as the viewer takes upon the information on this channel is strictly at your own risk, and Complete Tuning Solutions will not be liable for any losses, damages, or personal injuries in connection with the use of this content (including injuries, damages, or losses sustained while you were trying to emulate the actions and projects on this channel). Attempting to emulate any of the actions or projects put forth by this channel should not be done without training and even then, at your own risk.Show More
Now Playing
How I routed 2" intercooler piping in a #twinturbo #policecar
#turbocharged #policecar #ls . Overview of my hotside piping routing ...
#turbocharged #policecar #ls . Overview of my hotside piping routing on my 2015 Caprice PPV, powered by a 6.0 L77 and backed by a 6l80E. This is my ...Drag and Drive build in progress, featuring 2" stainless piping hotside, cross-feed routing, to a 3" upper intercooler pipe out of aluminum. Tried to find the balance between routing, bends, and clearance. I've seen worse! Should hopefully allow the twin #VSRacing 62mm DBB turbos light off!
PTFE Hose Ends tips and tricks; Not all hoses are the same
#fragola and #evilenergy #PTFE #An hose end install in the garage with ...
#fragola and #evilenergy #PTFE #An hose end install in the garage with some tips and tricks. Showing what I do and where you can go wrong, bonus coverage ...on a leak and what that looks like when you test (ALWAYS TEST YOUR LINES).
Comment below if you have questions or want to see more of these types of videos.
Comparing Fragola vs Evil Energy for the Twin Tribble Caprice project. Learn how to build and test custom automotive lines for leaks.
Building custom automotive lines is a critical part of the Twin Turbo Caprice build. I ran into some unexpected differences between Fragola and Evil Energy, so I am walking through the specific pros and cons of each manufacturer to help you decide which parts fit your setup best.
This guide covers the entire process of routing and assembling your hoses. You will see exactly how I prep the lines and the specific steps to perform a leaking fuel line test before installation. Whether you are working on a performance build or a simple restoration, understanding the quality of your braided fuel lines is essential for a safe project.
Subscribe for weekly automotive project breakdowns and let me know in the comments if you prefer Fragola or Evil Energy for your builds.
00:00 Intro
00:40 Evil Energy PTFE with cover
01:40 Fragola PTFE ends
02:31 Critical Set end Gap
03:00 Pressure testing
03:30 Oh no a leak!
04:28 Fix the leak/how to all items
05:05 Closing Pro's and Con's
******************************
The information provided on this channel is for entertainment purposes only. Any action you as the viewer takes upon the information on this channel is strictly at your own risk, and Complete Tuning Solutions will not be liable for any losses, damages, or personal injuries in connection with the use of this content (including injuries, damages, or losses sustained while you were trying to emulate the actions and projects on this channel). Attempting to emulate any of the actions or projects put forth by this channel should not be done without training and even then, at your own risk. I am not sponsored by anyone but do use Amazon links to help fund the channel, consider clicking on the offerings I've selected as I only link products I've used.Show More
Now Playing
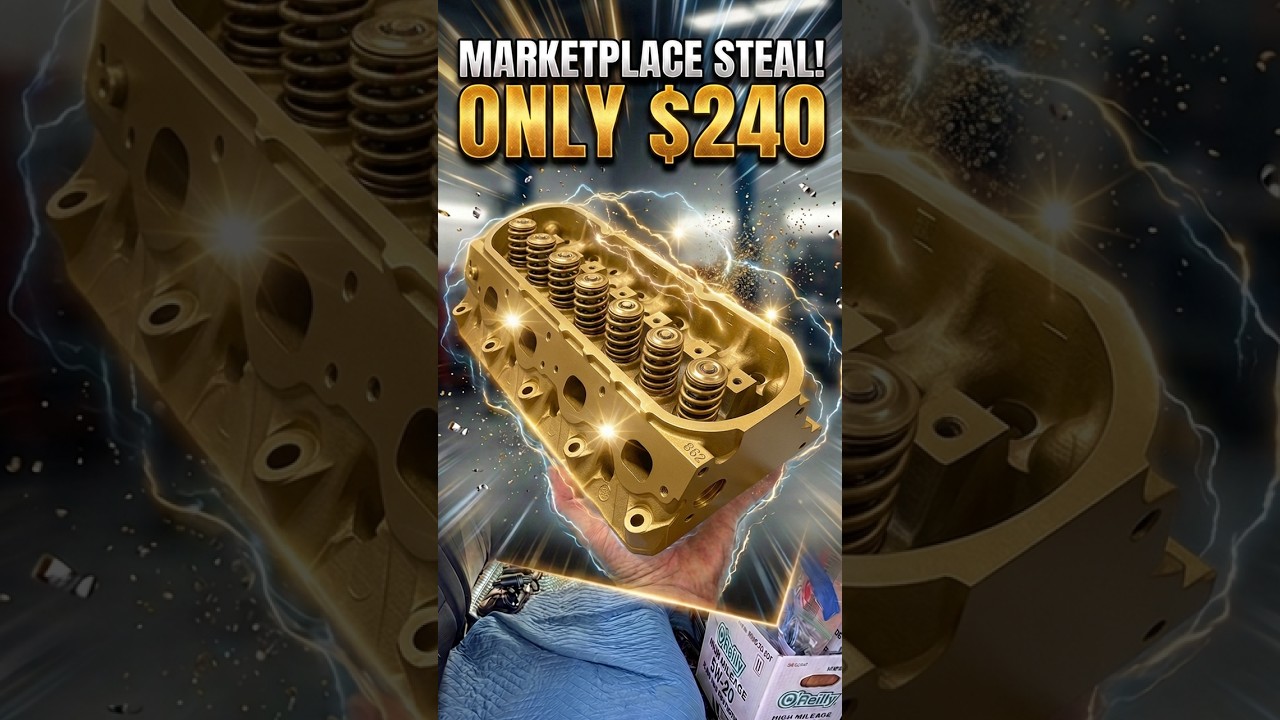
Don't sleep on these 862 heads #lsswap #camaro #budgetbuild
Scored these 862 heads, coil packs, valve covers, ready to upgrade ...
Scored these 862 heads, coil packs, valve covers, ready to upgrade rockers, and new valves all for $240 off Facebook Marketplace! The Budget Pro-Tour Camaro takes another step forward! ...Check it out! #lsswap , #facebook, #camaro.
Is This the Best Budget Pro-Touring Platform? 1979 Camaro- New project
After selling the CSM Mustang I started to search for the next ...
After selling the CSM Mustang I started to search for the next street/track car...decided to go with something Vintage, a 2nd gen F-body. Started up some searches and stumbled ...across this practically in my back yard, only 2 hours away! I'm still working on the Caprice twin turbo project, but this will be fun to have on deck, and was too good of a deal to pass up; even negotiated a LQ4 in the deal.
Going to be a cruiser, brusier, CAM-T autocrosser, budget pro tour build. Throw in some #scca targa for fun.
Best part is no major rust, and very little surface rust if any. Drove it on Saturday with a SBC 350 and then picked it up Sunday as a roller. Car is a 1979 Chevrolet Camaro Berlinetta and factory had a massive 5.7 350 pumping out an incredible 170hp. This one is going to be a bit more wild.
Car has a L88 hood (fiberglass) and apparently a 3.73 posi rear. Most of the interior and missing trim came with, and it was a daily driver for the last 6 months. Follow along as I turn this into my next long term project!
The goals for this project:
✅ Competitive Autocrosser and Road Course fun
✅ Fun and reliable street bruiser
✅ Compliment the existing garage, learn, and have fun building something different
This is Episode 1; the intro of the build series, and there is a lot more to come.
Subscribe to follow the build and future tuning, fabrication, dyno, and track testing videos.
******************************
As an Amazon Associate I earn from qualifying purchases.
The information provided on this channel is for entertainment purposes only. Any action you as the viewer takes upon the information on this channel is strictly at your own risk, and Complete Tuning Solutions will not be liable for any losses, damages, or personal injuries in connection with the use of this content (including injuries, damages, or losses sustained while you were trying to emulate the actions and projects on this channel). Attempting to emulate any of the actions or projects put forth by this channel should not be done without training and even then, at your own risk.Show More